Monday 13 January 2014

DIY Baby Food

Dear husband and I have a relatively healthy diet. My kryptonite is refined sugar and when you read the ingredients of, well, everything these days, it's usually in the top three.  So reading the ingredients of jarred baby food was quite the eye opener...tons of sugar.

In any case, making baby food is actually pretty easy, cheap and you know exactly what's in it.  So far, boiled potatoes and peas.

My experiment today is carrots and parsnip. I have steamed veggies in the microwave lots of times before (broccoli in a ziploc bag for 90 sec is wonderful! Flavourful and a bright green, not at all mushy), however...carrots...let's just say charred, smoking mess!


With that in mind Dear Husband has gone to get a steamer basket for our rice cooker...update shortly.

Parsnips in the rice cooker...success! On to the carrot.

Here is the rice cooker with the steamer basket and carrot (FYI, I'm not employed by or endorsed by Salton. It just happened to be the cheapest rice cooker on the shelf last grocery shop.)


Friday 10 January 2014

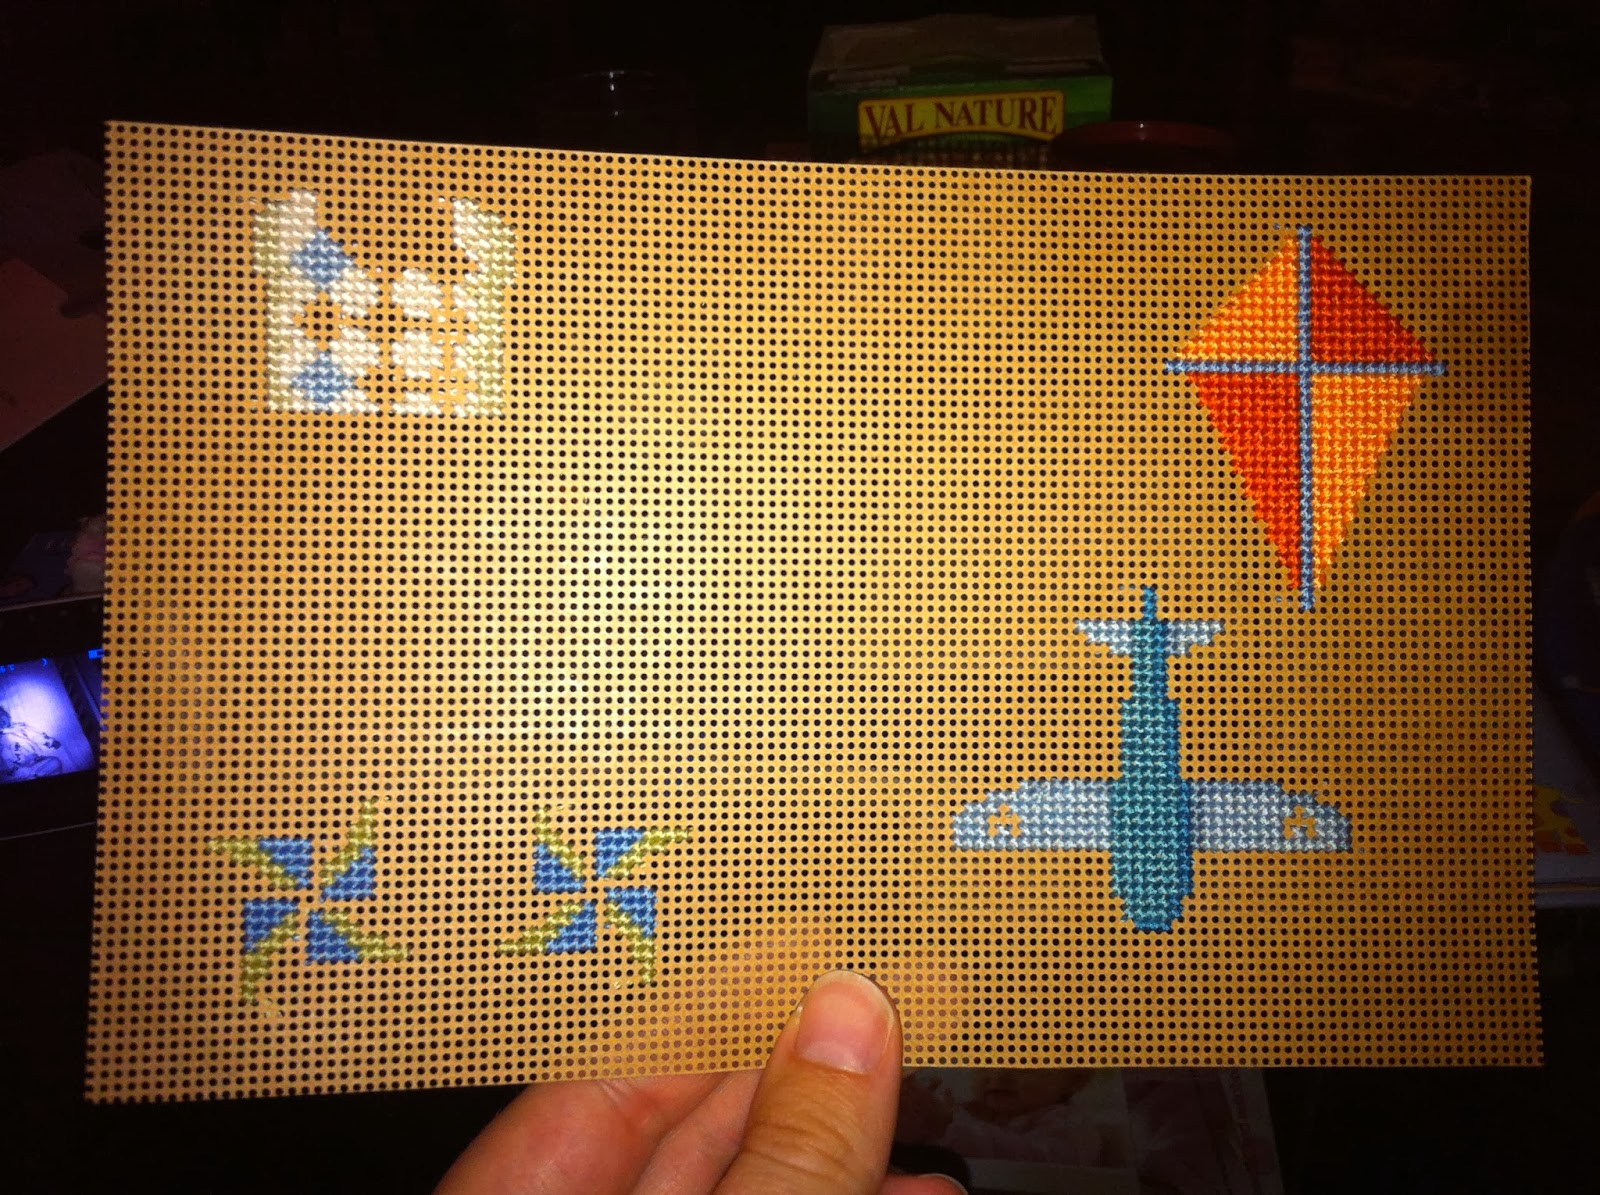
Birth Sampler

One of my hobbies is cross-stitching (aka xstitching).  I have favourite designers and am active in several online facebook groups.  So when I decided to stitch a birth sampler I originally was aiming for one of my favourite designers but none of the ones that were available spoke to me in the way that projects do when they yell "make me!"

I ended up choosing a design from a new-to-me designer by the name of Brooke A. Nolan.  I had not heard of her or of perforated paper, which really intrigued me.  After scrolling through her offered designs I settled on one called the "Spring Baby Boy Sunshine Line."  At the time of publishing this blog entry, the pattern and chart kit were still available.

When I started this design I actually started using the wrong colour in the clouds!
You'll note I had gotten quite far before I noticed that I should have been doing a different colour altogether!
The next few pictures show my progress, it took me 29 days to stitch from beginning to end (including framing) although there were days I did not stitch at all so technically I was done in about 43 days.


All of the pieces then had to be cut out of the perforated paper, which was really more of a perforated card stock.  Then the bunny was stitched together, very carefully and each of the other pieces were embellished with DMC's memory thread, beads and DMC Light Effects thread (note to reader: if you decided to do this pieces I cannot emphasize that I wish I had used the Kreinik Braid #8 for the actual stitching.  The Light Effects was great for the back stitching but not so much for the xstitching.).
  
I then proceeded to prepare my linen for the shadow box. I tea-dyed it in a large pot on the stove and rinsed it really well.
Then I ironed it mostly dry and hung it up to dry. I carefully stretched it onto the board that came with the shadow box, mitred the corners and stitched them close.
Then I pinned each piece to the board and inserted into the shadow box, where it now hangs on my boy's bedroom wall.  At least until he gets older and says "Mom, I'm not a baby anymore!"

Blankets & More Blankets!

I have been given a few blankets for Jellybean.  My folks actually gave me three over the last weekend, one beautiful yellow crocheted one (done by my Baba for my mother), two that were identical in a fun green camo and my Baba also is making one for Jellybean too.  BUT, where to store?  DH and I live in a townhouse and there is not a lot of storage room.  I've been trying to use what we already have around the house (and not buy more stuff) and while doing an attic purge over the weekend I found an old ladder that was left behind by the previous owners.


Now, I know what you're all thinking....NOT SAFE! Absolutely, I agree 100%.  So, first, my plan is to paint it (crib first, then use left over paint) and then I have to attach this to the wall, or just remove it once he's pulling himself up (at least until he's a bit older.). If you have other safety ideas...please let me know!

So, I took the whole thing apart and sanded it (really more of roughing it up).
Spent the afternoon with DH (dear husband, NOT designated hitter as he so charmingly refers to that accroynm, him being a pseudo-baseball fan) painting it. Not my best painting job, this was the last pre-baby project so I was in a bit of a hurry!
I put it back together.


Put the blankets on and Voila!

Tuesday 30 April 2013

The Toy Box

Every kid should have a toy box, somewhere where they can tidy up their toys (who am I kidding?), dig through to find that long forgotten thing and something else for Ms. Diva Momma-to-be to DIY.  With my thrifty nature I chose one of our empty boxes from the attic that had latches on it.


I picked up some wall stickers from the dollar store, one set in a space theme, two sets in a jungle theme and finally one set in a dinosaur theme.

I figured that wall stickers would have better adhesive, therefore sticking better.  Secondarily I could always ModPodge them if the stickers start to peel off.  I have some time before he starts using it to see how strong the adhesive is.

Final outcome looks pretty good.


Saturday 27 April 2013

The Crib I decided not to DIY

I decided not to DIY the crib afterall.  So, here's the story of the why I decided not to:

As all parents (and parents-to-be) we're on a very tight budget, we've gone the used route to get everything for Jellybean.  We ended up receiving a free crib initially that was missing a few key pieces of hardware.  Not only that it was also a drop rail.  Now, I could have gone the route of getting all new hardware to make it a fixed-rail but the missing pieces were for holding the mattress platform to the crib.  By the time I got to that we ended up recycling it at the Hartland Landfill (they have an actual recycling area for things like this, most of the other places won't take things like cribs or car seats because of the liability issues).

So, next step was to order a new one...DH said that he didn't want to go the used route this time because of problems of missing pieces, non-regulation, etc.  The one I ended up picking was from Sears.ca and was the StorkCraft Deborah fixed-rail 2-1 that can go from crib to double bed.  It was on sale and it's discontinued.

Stock Photo from TJ's Kids
Now, the trick was getting it home.  The trunk on our car was about 2 inches shy of the width of the box, so after going back and forth for almost an hour with the catalogue department in-store, they finally agreed to deliver it for us for an additional fee.

When the crib arrived and we started pulling it out of the box I said to DH that because this looked really nice, it was solid and heavy, and while not the colour I originally wanted...I wasn't painting the crib!  The paint will be used for something else.

That's my story and I'm sticking to it!

Saturday 20 April 2013

Door Jammer

Made a door jammer so that opening and closing the door is quiet.  I don't intend on being on someone who is constantly "we MUST be quiet, the baby is sleeping" or anything.  Vacuuming here I come!  On the other hand in the middle of the night is a different story...so door jammer.

I saw this on Pinterest (which led to etsy: http://www.etsy.com/listing/93606628/latchy-catchy-red-lotus-flower-patents?ref=v1_other_1)  I had enough fabric from the Papsan Chair cover that I used that...also Ms. Diva says matchy matchy :)  Here's their photo so you can see my inspiration:

I cut two pieces approx 3.5x5.5 inches and stitched them together.


I clipped the corners before turning right side out so that the corners would be nice and crisp.

I stitched around the sides of the door jammer, more decorative than anything else but it also helps the fabric lay flatter.

Then I sewed buttons onto the four corners for elastic rather than inserting it and stitching over it.


I should have put some padding between the two pieces but this works too.  Here it is on the door:


Monday 8 April 2013

Papasan Cushion Cover

Jellybean's nursery is well under way...I have an old Papasan Chair that's over 10 years old that I want to use for his feeding chair as I plan to breast feed for at least six months, hopefully longer.  The frame is made of bamboo and the cushion is a dark green in colour, doesn't go with the colours of the room at all.  Now I'm sure some of you are shaking your head and saying that he's not going to care, afterall he's just a baby and won't be doing much of anything beyond eating, sleeping and pooping.  However, I say differently, while he may not notice, I will certainly notice.  The reality is the nursery has to be somewhere I enjoy being in since I will be spending  fair amount of time their with just him and I during the nights.  I have made this room to suit me more than him, considering we don't know his personality yet.

So...before picture:

I was given this fabric from a friend of mine who was clearing out her craft room, it was actually a set of old curtains.  The colouring goes beautifully in the nursery and it is nice, heavy upholstery fabric.  I picked out all of the seams as well as the reinforced top that had gathered the top of the fabric.


I laid the cushion on top of the fabric and traced a line in chalk around it.


When I cut the two halves I actually added an extra inch as the tracing didn't include the thickness of the cushion for a seam allowance.


I serged the two halves together leaving about a 12 inch gap with which to insert the cushion.  The two sides to the opening I serged separately just so that they wouldn't ravel while I hand stitched the opening closed.


Once that was done, I tested it out on the bamboo frame to see how it looked and realized that it is going to need to be tacked down around the cushion.  It was done that way originally so I will use those indentations as a guide.


I have chosen 42 buttons (21 for each side) to accomplish tacking it down.  Although I am using heavy duty thread I am concerned that it will pull right through regardless.  The buttons will prevent that.

Tada!  Here it is :)